The Essential Guide On How To Make Agar For Mushroom Cultivation
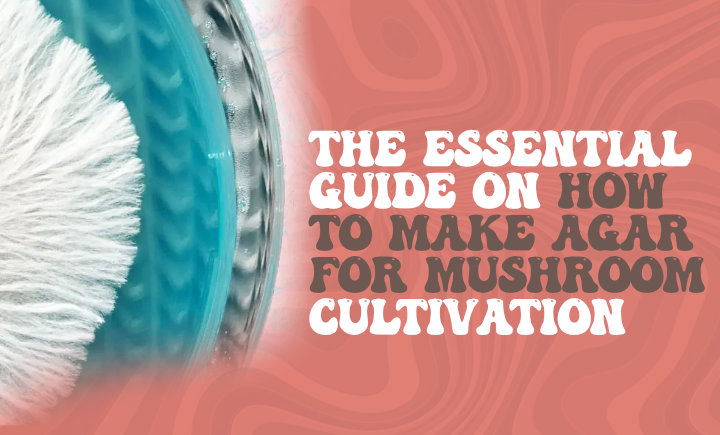
Mushroom cultivation is a fascinating venture, and one of the key elements in this process is agar. It’s an unsung hero that plays a crucial role in successful mushroom growth.
If you’re new to this or looking for ways to improve your technique, we’ve put together an essential guide on how to make agar for mushroom cultivation. We’ll cover everything from what agar is, preparation tips, common mistakes to steer clear of, its various uses in mushroom cultivation, maintaining sterility and hygiene during the process, troubleshooting issues, and alternatives if you prefer not to use agar.
What is Agar?
You’re probably wondering, ‘What’s agar?’ Well, it’s a gelatinous substance primarily used in laboratories as a growth medium for various biological cultures, including our beloved mushrooms! It’s derived from a certain type of red algae, and it’s perfect for cultivating a variety of fungi because it provides a nutrient-rich environment where they can thrive. It’s also incredibly easy to use, making it a popular choice for beginners and experienced cultivators alike.
But let’s dive a little deeper into why agar is so vital in mushroom cultivation. First, it allows you to isolate a specific strain of mushroom, providing a controlled environment for it to grow. This is crucial because it eliminates potentially harmful contaminants that could hinder the mushroom’s growth or even kill it. Plus, because the agar is transparent, you can easily monitor the mushroom’s growth, ensuring it’s healthy and thriving.
And the best part? It’s surprisingly easy to make right at home! So, if you’re interested in mushroom cultivation, agar is definitely something you’ll want to get familiar with.
Importance of Agar in Mushroom Cultivation
In mushroom cultivation, agar plays a pivotal role in aiding the growth and development of healthy fungi. This gelatinous substance, derived from seaweed, is commonly used as a base for agar plates in labs worldwide due to its excellent nutrient-rich properties and ability to solidify at room temperature.
An agar recipe typically includes a mixture of water, nutrients like malt extract or yeast extract, and agar powder, creating an ideal environment for fungi to grow. These agar medium plates provide an excellent substrate for mushroom mycelium to develop and flourish.
Agar’s importance extends beyond just providing nutrients; it’s also instrumental in isolating pure cultures from wild mushrooms or spores. By placing a small piece of mushroom tissue or a few spores onto nutrient agar in Petri dishes, we can create monocultures free from contaminants. This method allows you to observe individual colonies’ growth patterns and select the most vigorous ones for further propagation.
So whether you’re just starting or are an experienced cultivator looking to up your game, mastering the art of making your own nutrient-rich agar is essential for successful mushroom cultivation.
Types of Agar for Mushroom Cultivation
Ready to delve deeper into the world of fungi farming? Let’s explore the different types of agar you can use to give your shrooms a stellar start.
First, there’s agar powder, a popular choice among mushroom growers due to its affordability and convenience. The process of using agar is simple yet precise; it involves boiling the powder in water until it forms a gel-like substance that serves as an ideal culture media for mushroom mycelium. Agar-agar is another name for this type, often used interchangeably with agar powder.
On the other hand, malt extract agar (MEA) is another commonly used type of agar for mushroom cultivation. MEA contains both malt extract and agar mix, providing nutrients necessary for robust mushroom growing. This combination promotes strong mycelial growth and development, significantly boosting yield potential.
Remember that while all these types are effective in their own right, selecting the optimal one depends largely on your specific needs and goals in cultivating mushrooms. Each type has unique advantages that make it suitable for certain situations or desired outcomes in fungus farming.
Ingredients Required to Make Agar
Gearing up to prepare your own culture media? You’ll need a few key ingredients to whip up the perfect gelatinous environment for your fungi friends.
First and foremost, you’ll need agar-agar, a type of seaweed-derived gelatin that forms the base for our mushroom-growing medium. Then comes the nutrient part of the equation, which can be supplied by dextrose or glucose. These simple sugars provide an energy source for the mushrooms as they grow and develop.
For additional nutrients, we like to add nutritional yeast; it’s chock full of vitamins and minerals that help support healthy fungal growth.
Now, let’s dive into how these ingredients come together in a process known as ‘pour agar.’ First, make sure you have all your ingredients ready because timing is crucial when dealing with hot boiling water and gelatin mixtures. Mix your agar-agar with dextrose (or glucose) in boiling water following the proportions indicated in your chosen recipe until everything is dissolved completely – this forms the basis of your agar mixture.
Once cooled slightly but still liquid enough to pour, add nutritional yeast, ensuring it gets well incorporated into the solution before it sets too much. Remember – precision and patience are key during this process!
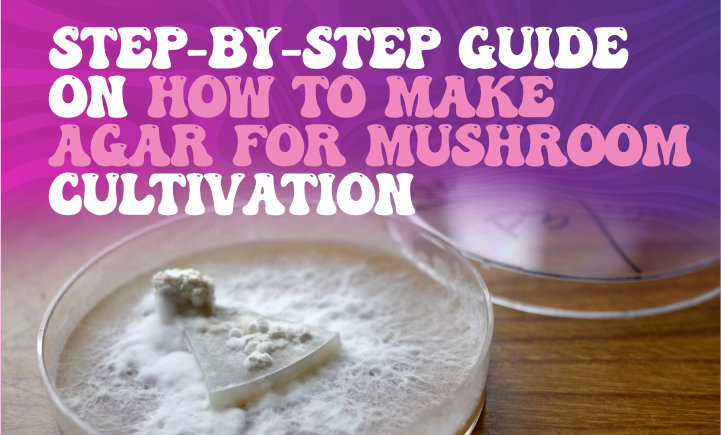
Step-by-Step Guide on How to Make Agar for Mushroom Cultivation
Let’s now go into the nitty-gritty of creating the perfect growth medium for your fungal protégés! The first step in this process is to sterilize all the equipment and ingredients you’ll be using. Ensure your work area is as clean as possible to prevent any unwanted organisms from contaminating the mycelium. This includes not only containers and utensils but also the water and agar itself.
To properly sterilize, use an autoclave – a device that uses pressure and high temperatures to kill microorganisms. It’s a staple tool in both mycology and microbiology labs worldwide.
Next, prepare the agar mixture following the steps below:
– Dissolve 20g of potato dextrose agar into 1 liter of distilled water.
– Stir until completely dissolved.
– Autoclave the solution at 121°C for 15 minutes to sterilize it thoroughly.
– Once cooled but still liquid, pour the solution into Petri dishes or similar containers
– Let them cool down completely before inoculating with grain spawn
In this way, you can create a nutritious base for your mycelium to grow on. Remember, precision is key here; ensuring correct proportions and maintaining sterile conditions will pave the way for successful mushroom cultivation!
Tips for Successful Agar Preparation
Ensuring that your agar preparation process is successful requires careful attention to several key factors.
The first thing you’ll want to do is sterilize all the items you’re going to use, including the glass bottle containing the agar mixture. This can be done using a pressure cooker to help kill any unwanted microorganisms that could contaminate our culture.
It’s also crucial to clean and sanitize your workspace thoroughly before beginning the process, ideally under a laminar flow hood if one is available. Using isopropyl alcohol can help in this regard, as it kills microbes on surfaces.
In addition, when preparing the agar inside the bottle, keep in mind that it should not fill more than half of its volume; this allows for better heat distribution during sterilization.
After filling up the bottles with agar solution, don’t forget to cover them with aluminum foil before placing them in the pressure cooker – this prevents excess moisture from entering and disrupting our liquid culture composition.
Finally, remember patience: allow everything to cool down completely after sterilization before continuing with inoculation or other steps in mushroom cultivation.
Following these guidelines diligently will greatly increase your chances of successful mushroom growth from our prepared agar plates.
Common Mistakes to Avoid
Despite best intentions, it’s easy to trip up and make errors in our mycology experiments that can hinder growth or introduce contamination.
One common mistake beginners often make is not allowing the agar to cool at room temperature before inoculating. While it may seem like a minor detail, high temperatures could kill your spores or even promote the formation of harmful microbes.
Another pitfall is failing to seal the Petri dishes properly with parafilm after inoculation. This step is crucial as it prevents contaminants from getting into your culture.
Moreover, using a still air box during this process can significantly reduce airborne contaminants.
Water bath sterilization is another area where errors commonly occur among DIY growers. It’s imperative to maintain an appropriate water level throughout the sterilization process; letting it drop too low can result in uneven heat distribution and insufficient sterilization of your agar mixture.
Lastly, always remember cleanliness cannot be overstressed when working with mushroom cultivation – any lapse can invite unwanted organisms into your grow environment, which could jeopardize all of your hard work and patience.
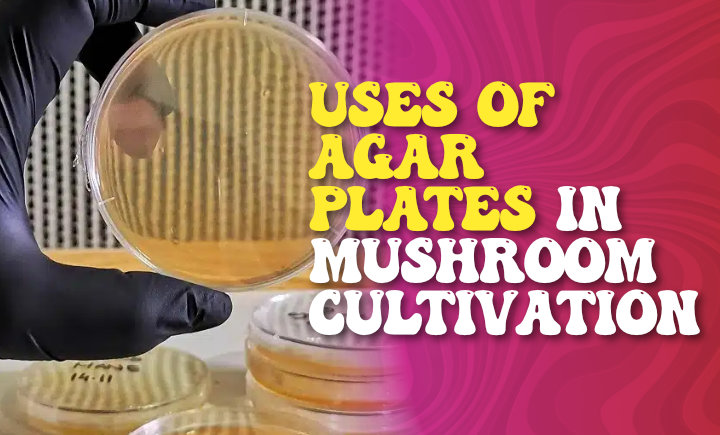
Uses of Agar Plates in Mushroom Cultivation
You’re likely wondering about the role of those Petri dishes in your mycology hobby, aren’t you? Well, let’s shed some light on them.
Primarily, agar plates serve as a perfect medium for mushroom spores to germinate and develop into mycelium – the vegetative part of a fungus. The agar itself is derived from red algae, and its preparation involves dissolving it in hot water to create a gelatinous substance. This substance provides essential nutrients that aid the growth of mycelium, creating an environment similar to what mushrooms would encounter in their natural habitat.
With agar plates as part of your toolkit, monitoring growth patterns becomes easier, providing valuable insights into how different species grow under varying conditions. It’s all about creating optimal conditions for your fungal friends to thrive!
Maintaining Sterility and Hygiene
Let’s not forget cleanliness is your secret weapon in the world of mycology. Maintaining sterility and hygiene starts with a clean workspace.
This means ensuring that all surfaces are free from dust, debris, and other potential contaminants before you start preparing your agar mixture. It’s also crucial to have clean hands and use sterile equipment. This includes anything that comes into contact with your agar or mushroom cultures, like spatulas, Petri dishes, and gloves.
We recommend using a bleach solution or alcohol-based sanitizers to clean surfaces and autoclaving tools where possible for sterilization.
Even after cleaning your work area thoroughly, airborne contaminants can still pose a risk during the agar preparation process. To minimize this risk, we suggest working near a properly calibrated laminar flow hood or within a glove box if one is available. These devices provide an environment where air currents are controlled, reducing the chance of unwanted spores landing on your freshly made agar plates.
However, if these aren’t options for you, working in a small, confined space like a bathroom (after giving it a good clean) can also help limit exposure to airborne contaminants. Remember to always cover your agar immediately after pouring it into dishes to protect against such risks.
Troubleshooting Agar Preparation Issues
After ensuring the sterility and hygiene of your workspace, you might still encounter some issues when preparing agar for mushroom cultivation. Despite all precautions, there can be unexpected problems that can create roadblocks in our path.
Let’s take a look at these issues individually:
Contamination: This is often due to inadequate sterilization during preparation or exposure to contaminants post-sterilization. To avoid this issue, ensure all tools and surfaces are thoroughly cleaned and sterilized before use.
Poor Gel Consistency: If your agar is too hard or too soft, it may not provide an ideal substrate for mycelium growth. This usually happens due to incorrect proportions of water and agar powder during preparation.
Nutrient Imbalance: When mushrooms fail to grow on the prepared agar plates despite optimal conditions, it might be due to a lack of nutrients in the medium, which is essential for their growth.
Improper pH Levels: Mushrooms prefer slightly acidic environments with a pH level between 5-6. If your agar medium is too alkaline or acidic, this can hinder mushroom growth.
By keeping these potential issues in mind while preparing agar medium for mushroom cultivation, you’ll be well-equipped to troubleshoot any challenges that arise along the way!
Agar Alternatives for Mushroom Cultivation
While agar is a popular choice, it’s not the only option out there for growing your own fungi. Several other materials can be suitable substitutes for those who may not have access to agar or prefer using different methods.
One such alternative is potato dextrose yeast (PDY) medium. This nutrient-rich substrate is made from boiled potatoes, dextrose (a form of sugar), and yeast extract. It’s ideal for promoting fungal growth due to its high carbohydrate content, which provides the essential energy mushrooms need to grow.
Another useful substitute is malt extract broth, a liquid medium created from malt extract and water. This solution has a lower nutrient content than PDY but still encourages mushroom development by providing them with necessary carbohydrates and proteins.
Additionally, grains like rye berries could be an effective substitute; they’re easy to use, inexpensive, and readily available in most grocery stores. However, proper sterilization of these alternatives remains crucial to prevent contamination and ensure successful cultivation, just like in the case of agar preparation.
Final Thoughts
So, we’ve explored some interesting alternatives to traditional methods. We’ve also covered the process of making agar for mushroom cultivation and looked at various other options. It’s crucial to remember that no matter which route you choose, patience and precision are key.
From potato dextrose agar to malt extract agar, each method has its unique benefits and drawbacks. The choice ultimately depends on your specific needs and environment.
Remember that there’s always more to learn in this fascinating field. Keep exploring new techniques and expanding your knowledge base – it’ll only make you a better cultivator!
Frequently Asked Questions
How do you make homemade agar?
To make homemade agar, dissolve agar flakes or powder in water, then heat the mixture until the agar is completely dissolved. Pour the mixture into containers or Petri dishes, and allow it to cool and solidify.
How do you make Petri agar?
To make Petri agar, prepare a mixture of agar, nutrients, and water. Autoclave or sterilize the mixture to kill any microorganisms. Pour the sterilized agar into Petri dishes and allow it to solidify before use.
How do you make agar media?
Mix agar, nutrients, and water according to the specific recipe needed for your desired media to make agar media. Autoclave or sterilize the mixture to eliminate any contaminants, then pour it into containers or Petri dishes for solidification.
What are the ingredients of agar?
Agar is derived from seaweed and typically consists of carbohydrates, proteins, minerals, and water. It does not contain any animal-derived ingredients, making it suitable for vegetarian and vegan diets.
Is agar just gelatin?
No, agar is not the same as gelatin. Agar is derived from seaweed, while gelatin is derived from animal collagen. Agar has different properties, such as higher gel strength and the ability to remain solid at higher temperatures.
Is agar agar healthier than gelatin?
Agar agar is often considered a healthier alternative to gelatin. It is low in calories, fat-free, and a good source of fiber. Additionally, agar agar sets and gels more firmly than gelatin, making it a suitable choice for vegan or vegetarian diets.
